How to Install a Ceiling Fan
How to Install a Ceiling Fan: A Step By Step Guide
Prep the Space:
Here are a few pointers to bear in mind while mounting a ceiling fan before you get started.
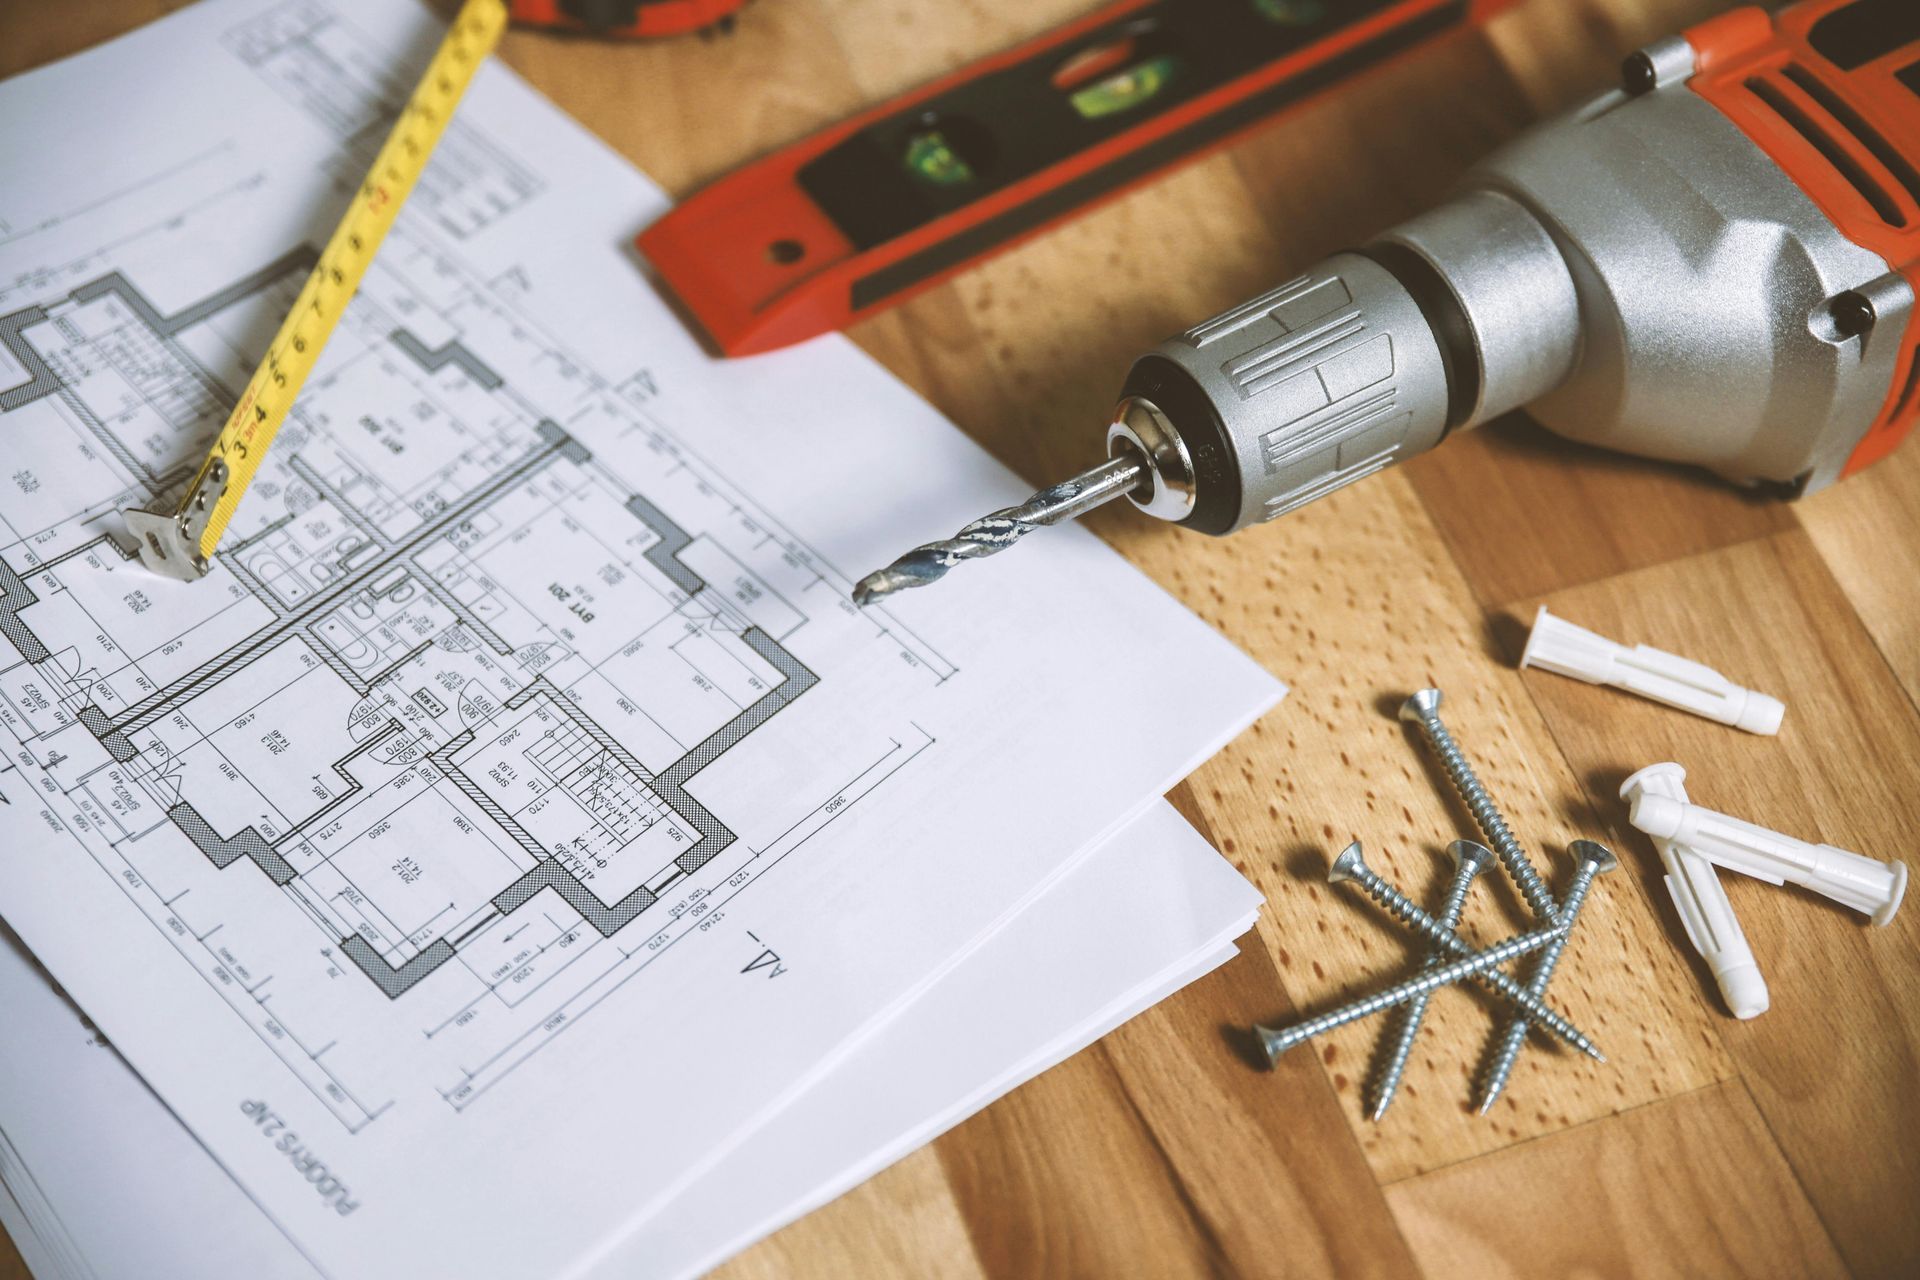
- When learning how to install a ceiling fan, one of the most important things to remember is that the fan you purchase must fit the size of your room. Always take measurements of your space before going shopping.
- Ceiling fans must be securely fastened to an electric ceiling box designed to support a large fixture. Not only will it hold the wire, but it will also carry the entire weight of the fan.
- If you want to use a light switch to control the ceiling fan, ensure sure the switch is wired correctly for the fan. Before starting your installation, label the correct wire if the room has a dual-switch.
- Consider a quick-install ceiling fan, which can be installed in just three simple steps. The elements that need to be put together simply click into place.
- Before installing your ceiling fan, inspect the joists for any wiring or plumbing lines that may be in the way.
- Check to see if the electrical box holding the ceiling fan is fan-rated. Ceiling fans are bulky and require the proper electrical box to be fitted. Examine your existing electrical box to guarantee that your project will not necessitate the installation of a ceiling fan box.
- Before you start working, turn off the power to the fan at the electrical panel and use an appropriate testing device to make sure there is no electricity to the light fixture. You shouldn't rely on a wall switch to keep you safe from electric shock.
- If you're installing a new fan in a location where one didn't previously exist, check with your local building department to see if a permit is required. Consider hiring an electrician if you don't feel confident installing on your own.
Turn Off Power to Outlet:
- Check to see if the present junction box is rated for ceiling fans. This should be indicated by an inscription on the ceiling fan box. Typically, the box is made of metal. If not, install a fan-rated junction box and a fan brace between the ceiling joists to withstand the weight of the fan.
- Next, turn off the electricity at the circuit breaker and turn off any wall switches.
- Place a piece of electrical tape between the wall switches and the breaker box after turning off the electricity to prevent someone from coming by and turning it back on while you're working.
Mount the Junction Box:
If you need to remove an existing fan or fixture before installing your new ceiling fan, now is the time. Disconnect any cables and request the help of a friend to remove the fan or fixture.
- It's now time to install the junction box. Place the fan brace on the ceiling through the hole in the drywall. The brace's square tube should be centered in the hole.
- With your hand, rotate the square tube until the teeth are firmly engaged into the joist. To assess your results, take a look around.
- The U-bolt bracket should be attached to the fan brace. With the bolts facing down, it should be centered in the hole.
- The cable wire should be threaded into the junction box. To secure the box in position, slide it up so that the bolts can pass through it and tighten the nuts.
Mount the Bracket:
- The mounting bracket should then be secured to the box. Always read and follow the directions provided by the manufacturer.
- Thread the main wires through the mounting bracket's center.
- You can leave the mounting bolts on the junction box and just slide the fan bracket over the mounting screws if the fan has a slide-on bracket. Tighten them all the way.
- If your fan doesn't have a slide-on fan bracket, position it over the mounting bolts that peek through the bracket and tighten it with the nuts that come with it.
Set the Downrod:
Before installing a downrod, make sure the ceiling height and angle are correct. A specific downrod is required for ceilings with high angles or a slanted ceiling.
- Slip the canopy onto the downrod and pass the main wires through using a flat surface, such as a table or the floor. Connect the downrod to the fan's base by inserting the clevis and cotter pins.
- Connect the bulb-shaped fitting at the top of the downrod to the ceiling mounting bracket.
- Thread the electrical wiring through the canopy ring if you're installing a flush mount fan.
Wire the Ceiling Fan:
If your ceiling fan's mounting bracket has a hook, use it to hang the fan while you start wiring, or seek the help of a buddy to hold the fan while you start wiring.
- Connect the fan wires to your home's electrical system. Because some fans come with extra cables, make sure to read your owner's manual for detailed instructions. To secure the wires, use the wire nuts that included with your fan kit.
- Connect the wires as follows: That is, black wire should be used with black wire, white wire should be used with white wire, and so on. The copper or green insulated wire of the fan frequently connects to the ground wire. The black motor wire of the fan connects to the black supply wire. The blue or striped light kit wires on the fan link to the black supply wires as well. The white motor wire of the fan is connected to the white, or neutral, supply line.
- Push these wires into the junction box once they are properly attached.
- If the wires won't fit into the box, cut them with wire cutters. When the fan is running, this will prevent them from vibrating against the canopy.
- Tighten the screws that hold the canopy to the mounting bracket.
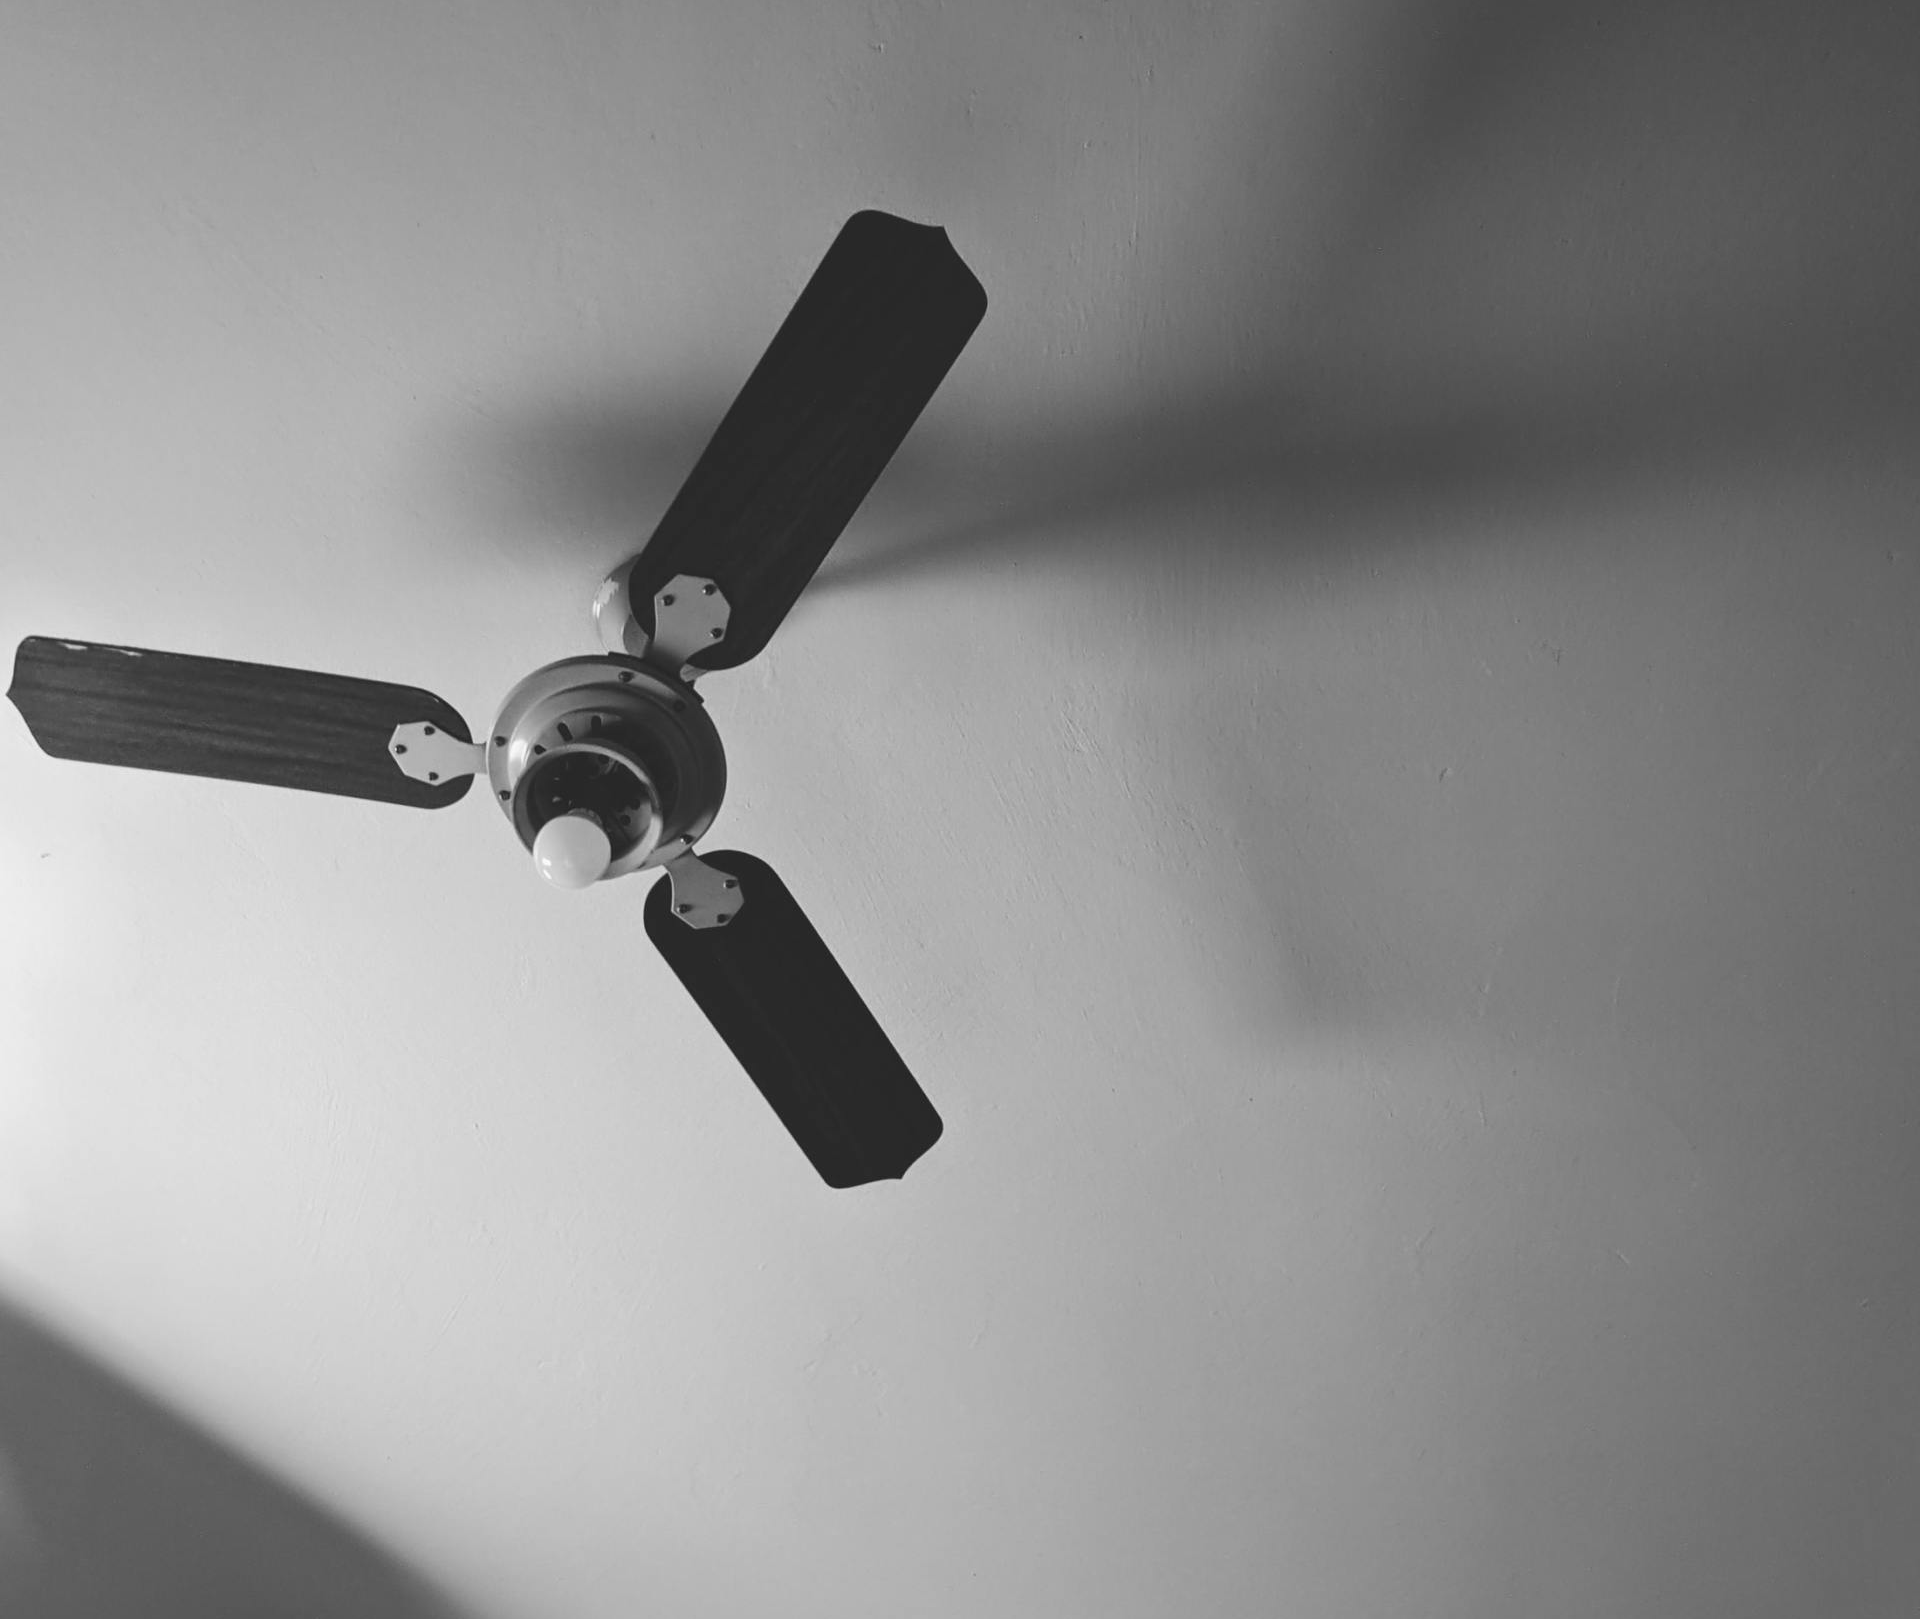
Attach the Blades & Bulb:
- Attach each blade bracket to a fan blade with the provided hardware.
- Before tightening any of the screws in the ceiling fan blades, start with the first one.
- Attach each blade to the fan after that.
- Quick-install blades are available on several fans, allowing for a quicker installation. Simply slide the blade arm posts outward until they click and lock into place by aligning them in the blade keyhole slots.
- Screw the fan blades onto the blade arms if your fan doesn't include quick-install blades. The side of the blade you want to exhibit should be facing down.
- Ceiling fans with accu-arm blade brackets can help make installation go more quickly.
- The blade screws are included with these brackets. In addition, the bracket has an alignment post that aids in attaching the blade arm without stripping the mounting hole.
- Fasten the blade assembly to the motor with two screws for fans without the accu-arm feature. To avoid stripping and bending the blades, drive the screws in slowly.
- Install the globe and light bulb that came with your kit if it came with one.
Return to the circuit breaker and turn on the electricity to the outlet. Enjoy the wind by turning on the fan with the light switch or another power source.