Why Restore Your Old Windows: Part 1
Restore Your Old Windows: Part 1

You may save tens of thousands of dollars and avoid the Replacement Window Myth trap that so many homeowners fall into by fixing your own windows. Once you've discovered the advantages of doing your own window restoration, You'll never listen to the replacement culture again, I guarantee. When the truth is revealed, it is impossible to live in denial.
The strength of ancient windows lies in their simplicity. Glass, putty, and wood That's all there is to a historic window! And, because of its amazing ability to resist rot and damage, old-growth wood, like the majority of these windows, can last endlessly. Glass never breaks, except for maybe a wayward baseball, and even if it does, it is readily accessible and can be replaced quickly and cheaply. Double-paned glass is not the same as single-paned glass. It has a limited lifespan (typically 10-20 years before the seals fail and it fogs up and loses its effectiveness), and it must be changed once the seals fail and it fogs up and loses its efficiency.
The same can be said about vintage window rope and pulley systems or basic hinges. When the balance mechanism on a historic window fails, it's a lot easier to replace a length of sash rope than it is to find a replacement spring balancing thingy that one window maker stopped making 12 years ago when they switched models. The more complex these windows become, the more likely they are to be messed up.
Finally, consider the environmental impact. It is not a wise choice for the environment to replace dozens of old windows with new units made of vinyl or other non-renewable materials. You might believe that the increased energy efficiency of new windows will more than offset the waste, but I've disproved that assumption in this piece. Not to mention that a research conducted by the Window Preservation Standards Collaborative found that weather-stripped historic windows with storms can easily meet or surpass the 2012 energy code criteria.
Let's get down to business now that you know why you should restore your old windows. While window restoration isn't technically tough, it is labor demanding and needs you to get your hands dirty!
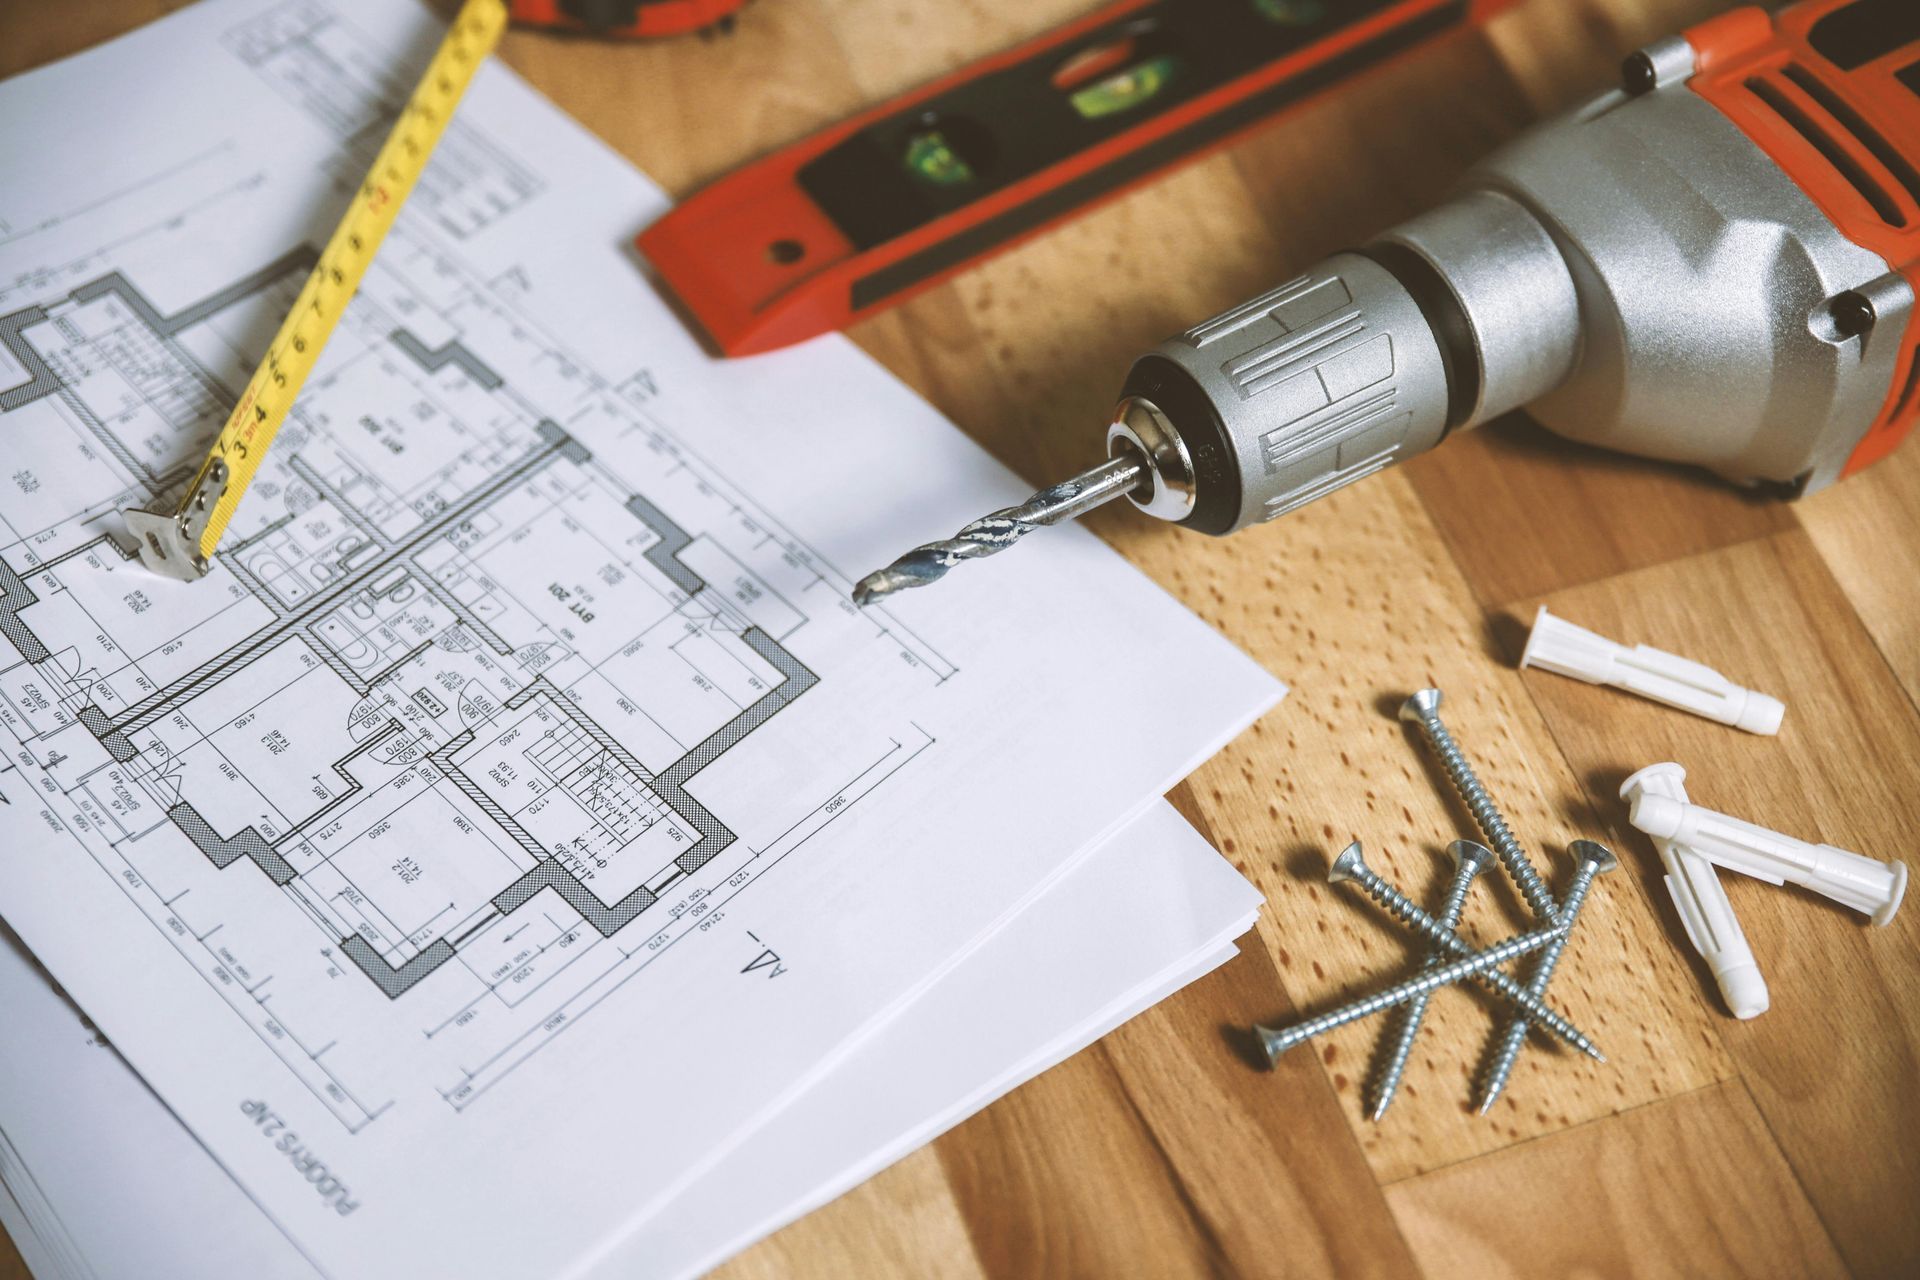
Tools
- Respirator
- Festool hepa dust extractor
- Oscillating Tool
- Razor Knife
- Trim Pry Bar
- Window Zippers
Lead Safety
Lead paint is likely to be present in older windows built before 1978. You can either use a simple lead test to check for paint or presume it has lead and proceed as directed below. This is particularly crucial for pregnant women and children under the age of six, whose bodies are more severely affected by lead poisoning. Please take precautions.
Working Outdoors
We'll start with outside confinement because it's not nearly as challenging. The idea is to keep lead paint out of the earth and plantings around the house, where little children may be attracted to play. You want to be able to finish everything and not have to spend the rest of the day pulling old paint out of the soil.
- When doing external work, choose a day with less wind.
- Within a 10-foot radius of the place you'll be working, lay down 6 mm plastic.
- Mark off the work area with stakes and caution tape or rope to keep passersby out.
- Pro Tip: Staple the plastic to a 24 and place it directly against the structure. This will prevent the plastic from bunching up or creating gaps near the structure. Because here is where the most of the debris will fall, you'll want to make sure it's well-protected.
- After finishing, spritz the plastic with water and roll it up (keeping small debris like paint chips inside) before placing it in a contractor bag or other thick-walled plastic garbage bag. The bag's neck should be rolled into a gooseneck and taped shut.
- Clean off work surfaces with a HEPA vacuum and wipe them down with TSP to ensure there is no leftover dust.
- Dispose of the bag in regular garbage. Contrary to popular belief, it does not need to be disposed of as hazardous waste.
Working Indoors
This is where things become a little more tricky, and you'll have to be a little more careful with your containment and cleanup.
- Any furniture within 6 feet of your desired work area should be removed.
- To protect the floor, tape down 6 mil. plastic in a 6′ perimeter around your work area.
- From floor to ceiling, you can use painter's tape and plastic, but I like to utilize a zip wall system to easily stretch plastic from floor to ceiling. It's a lot easier, because unlike tape, which can break apart, the zip wall keeps everything in place.
- Zippers that attach to the plastic can also be used to make an easy access entrance into and out of the work area.
- If you're doing more than one day's worth of labor, trust me when I say it's worth the extra money.
- Turn off the HVAC system and cover any HVAC vents or returns within the enclosed area with plastic or tape while you operate. You don't want to be moving lead-contaminated air around the house, so this may seem excessive.
- Dust can collect in the recesses of electrical outlets, so tape them up as well. It'll make cleaning up a lot easier.
- Place a damp towel on the floor right outside the work area's entrance. As you arrive and depart, this will prevent you from tracking dust or debris out of the work area.
- When you're done, spray all of the plastic, wrap it up dirty side in, and throw it in a contractor bag or other thick-walled plastic garbage bag. The bag's neck should be rolled into a gooseneck and taped shut.
- Clean all of the surfaces using a HEPA vacuum (walls, floors, trim, etc.)
- Using a rag dampened with TSP, wipe off ALL surfaces. You may need to repeat this process a few times until the rag is clean. Consider the "white glove" test.
Low-Dust Work Techniques
Last but not least, you must work in a safe manner. Some processes generate an excessive amount of dust. Others have the ability to evaporate lead, rendering your respirator useless. The moral of the story is to work safely. When working with lead paint, there are a few significant Do's and Don'ts to keep in mind.
Don’t
Without a HEPA vac attachment, use grinders, power sanders, planers, sandblasting, or other abrasive power instruments.
Make use of a high-heat paint remover (torches, heat guns, electric heat plates, etc.)
Because of the risk of electrical shock, wet surfaces should not be used when utilizing power tools.
Do
- With any power tool, use HEPA vac attachments and dust collection shrouds.
- Low-heat infrared paint removers should be used (Speedheater Cobra, Silent Paint Remover or similar)
- Chemical paint strippers should be used.
- To assist control dust, wet surfaces before utilizing pneumatic tools or hand scraping.
- For paint removal, use steam heat.
I'd like to clarify a few points about utilizing heat to remove paint. Paint removal may be done safely at low temperatures. Lead paint removal is generally regarded safe at temperatures below 1,000 degrees Fahrenheit. Temperatures over that range can cause lead to evaporate, posing a significant health risk.
Not to mention the risk of house fires while using high-temperature paint removal techniques. Not just in the moment, but sometimes hours later smoldering building components can finally burst into flame. Tremendous heat, in my opinion, equals high danger!